Travel Photography for Beginners
The ineffable value of travel stretches way beyond the corners of a picture frame. However, photography is a fantastic medium for sharing meaningful travel experiences. These photography secrets will not only help you produce epic albums for sharing, but also, hopefully, start dialogue about why travel is such an educational opportunity and how global adventures can even change lives.
#1 Carry Your Camera
Not all cameras are created equal, but it’s more important to carry something – a DSLR, a phone camera, or a disposable – as opposed to nothing. I highly suggest that photographers carry their camera with them everywhere, even during their regular routine. So logically, a camera should be on your person when traveling as well. This creates more opportunities for “kodak moments,” and it also develops your artistic eye for diverse shots while you’re walking or riding around new cities. Another tip: you don’t always have to be on the move. Rooting yourself in one spot for a duration of time will inspire more people watching. Try shooting from different angles while stationed at a single location. It’s likely you’ll take a greater number, as well as, higher quality photos. Whether you are roaming alleys in Barcelona or hiking the Scottish Highlands on the Thistle and Shamrock Tour, make sure your camera is accessible!
#2 Turn Off Your Flash
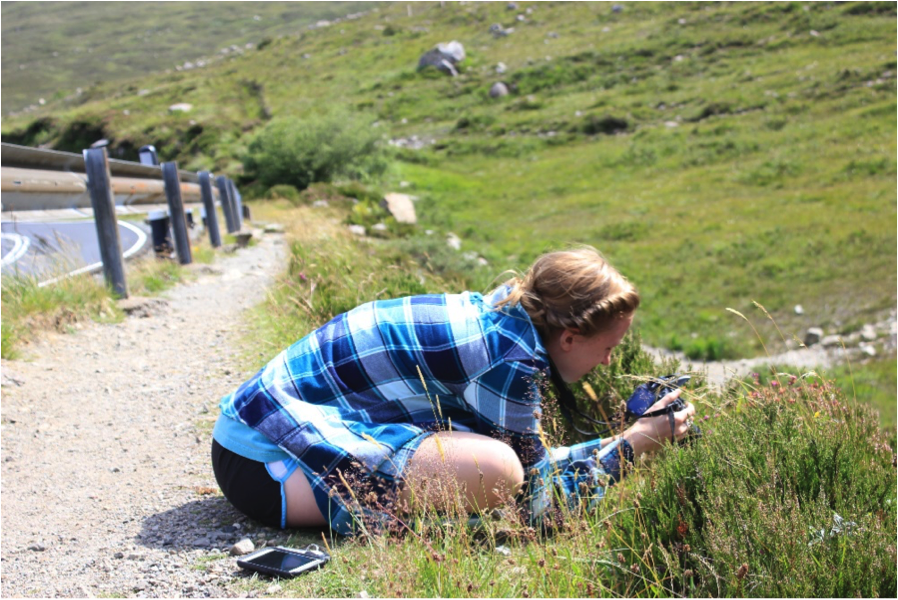
Again, try to use the natural light in the environment. Sometimes flash creates phenomenal photos by drawing attention to a focal point, but when you’re just looking for more light in general, try adjusting the camera settings instead. This can be done easily on a DSLR (change the ISO). Many smart phones have high quality (light sensitive) photography settings as well! Play around with your camera before your trip so you feel prepared to adjust settings on the fly, instead of using the boring ol’ flash.

#3 Try Different Times of Day
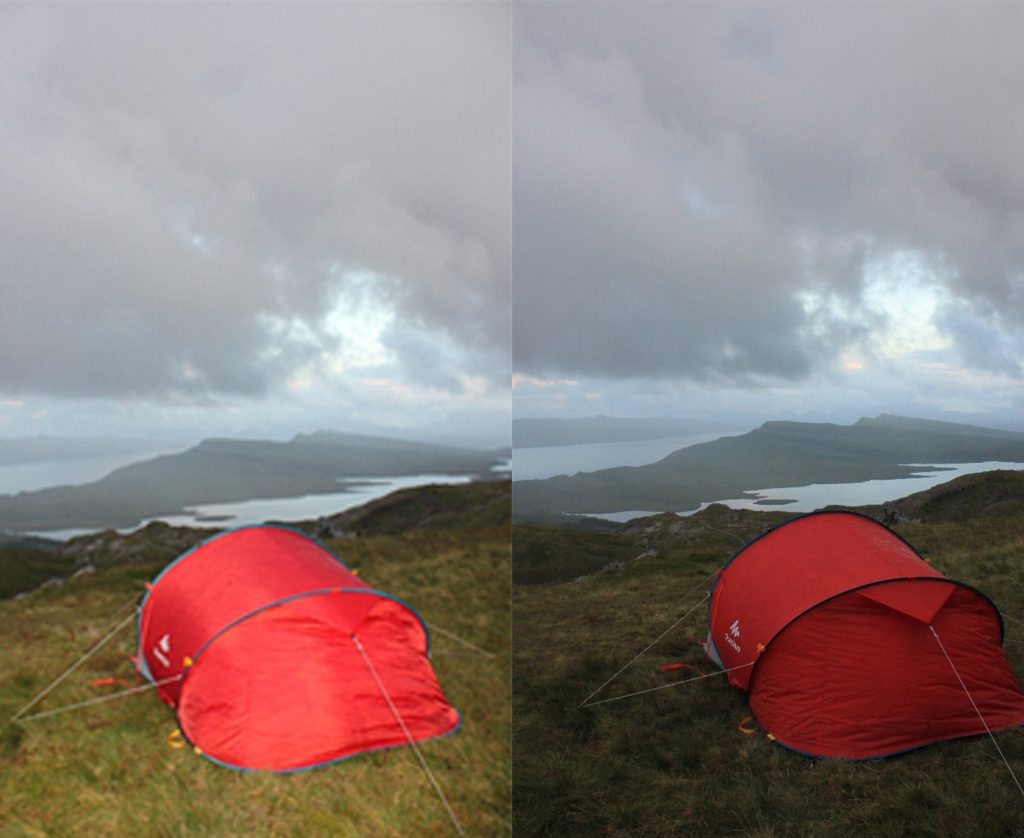
Some photographers say that morning is the best time to shoot. First, it’s worth it to roll out of bed early to beat all the tourists and get a stunning shot of a usually very crowded location. Additionally, the morning sun will cast beautiful light on your subjects, landscapes, and cityscapes. (Sunsets will too!) Think about what time of day will be best for shooting your favorite spots you’ve discovered. Returning to landmarks for photography purposes will also help practice your navigation skills in new cities! Don’t get lost… Or do!
#4 Photograph People!
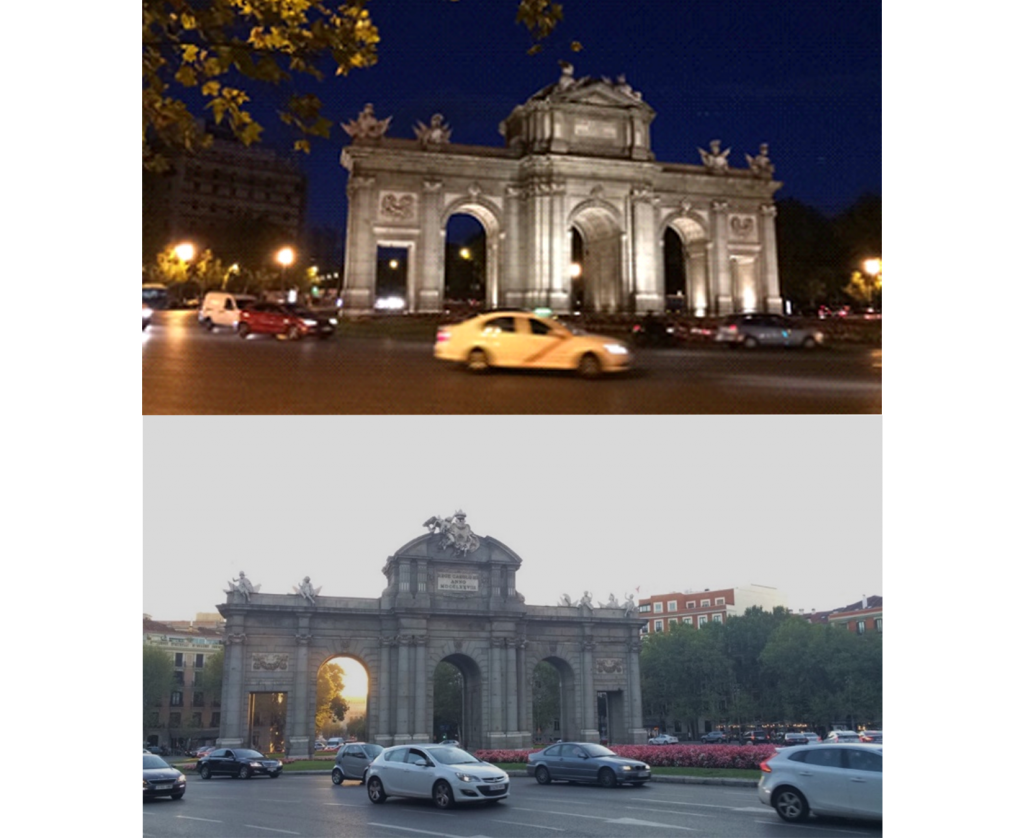
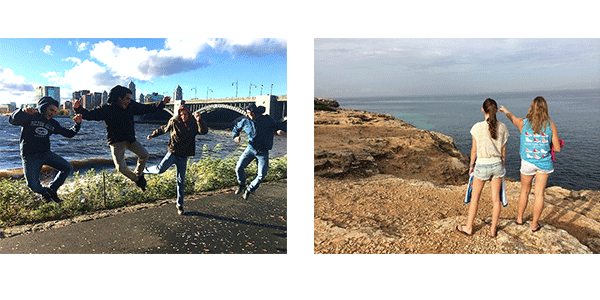
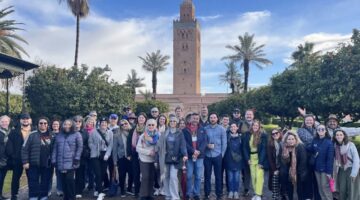
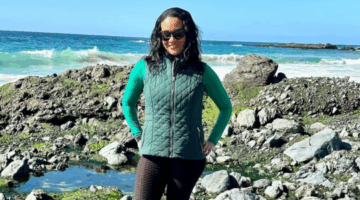
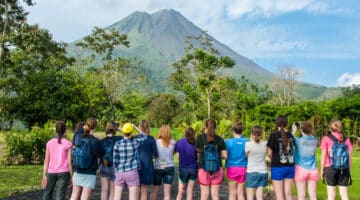
I learned early in my travels to include subjects while capturing memorable places. Social media users often depreciate phenomenal photos of themselves in front of beautiful backdrops with captions such as, “Just ruining the scenery” or “Here’s a photo of me blocking the view”. However, travel photography inspires opportunities for you to immerse yourself in a totally new setting through the camera. You can google images of Paris, Mallorca or Boston any day, but when you look back on your adventures, you’ll want to recognize familiar faces aside the famous landmarks you’ve had the opportunity to see. Candids are also very charming, but always remember to ask permission if you’re trying to photograph a local.
#5 Use the Rule of 1/3s and Leading Lines
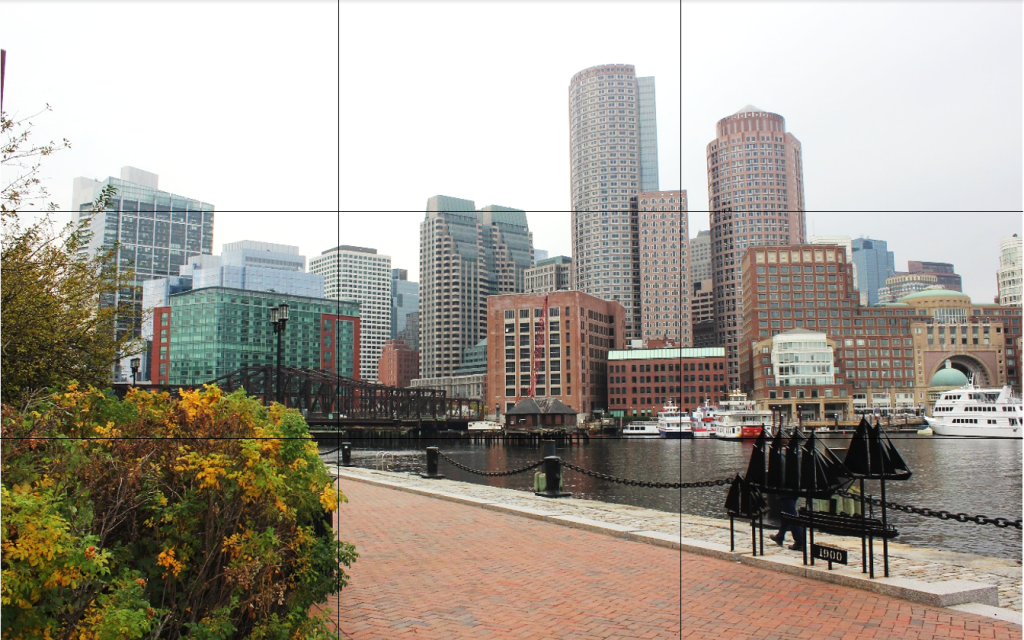
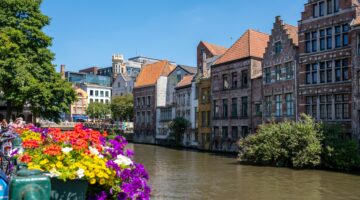
These are two composition techniques that you can start practicing today. When composing a shot, try to align the focal point with these imaginary grid lines, or at their intersections. This means you have to break the addicting habit of centering subjects in the frame. If you’re practicing landscape photography, try to divide the shot into thirds (sand, water, horizon, if you’re on a beach, for example). Leading lines are also helpful in creating geometrical or framed photos. You can use natural edges in the environment, like buildings and roads, to lead the eye into the shot. Tip: Using shadows can also exaggerate lines in a unique way. Practicing basic composition techniques as a novice photographer will develop your individual skills in the long run. Soon enough, while traveling or not, you’ll start to break these beginner rules and create even more dynamic photos.
#6 Employ a Tripod
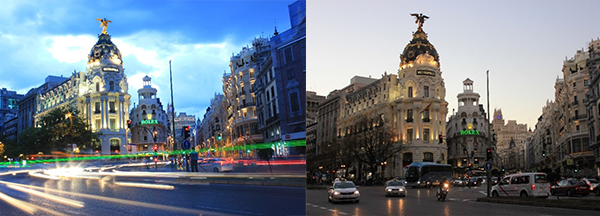
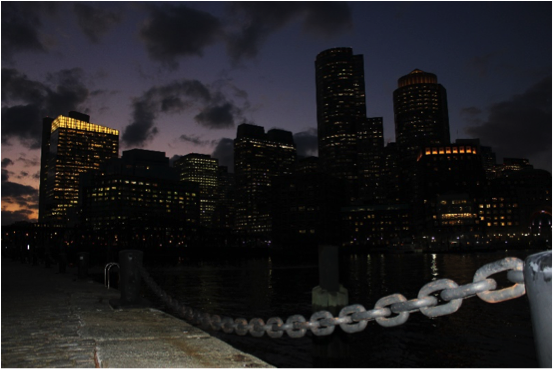
It can be a hassle to carry around a clunky tripod in your day pack, but there are many innovative tripods that are fairly compact and lightweight. I highly suggest a tripod for stabilizing the camera, especially with shots at dawn and dusk. You can get a much higher quality photo when you let more light in (adjusting the ISO) and keep the camera stable with a tripod. You may even catch some cool street light action like in the photo below of Madrid’s iconic Metropolis.
And Finally…Put the Camera Down!
I know this contradicts all the points just emphasized. However, not all people will experience the invaluable educational adventure we call travel. Appreciate the completely foreign settings, cherish the company of your travel buddies, and embrace the wonder of new destinations.



I really love all of the tips you gave and you made some amazing points and I am young so I know I can’t enroll myself into the ‘school’ it it is a school but I am hoping that I can when I am older. I have been in love with photography for a long time and I think I am decent at it but I would love to read/get more tips from your website. Thank you!